Automated Testing Without Coding
Functionally test your web application through simple, readable Gherkin scripts. No programming required!
Get started now View it on GitHub
Getting Started
Installing kosher
- Download the installer from the latest published release of kosher: https://github.com/cbush06/kosher/releases/latest
- Run the installer with administrative privileges. You can do one of the following:
- Simply double-click the
kosher.jarfile (this may work for some) - If double-clicking fails on a linux system, open a terminal and run
sudo java -jar kosher.jar - If double-clicking fails on a Windows system, skip to the next section Install using Windows Command
- Simply double-click the
Install using Windows Command Line
-
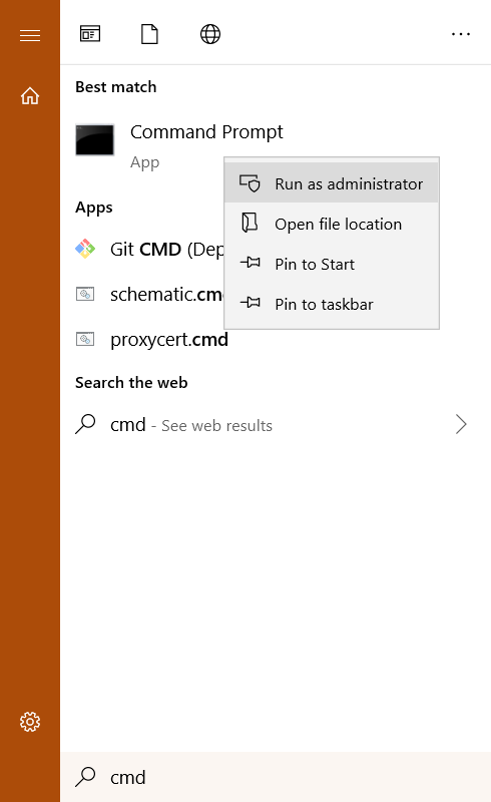
Navigate to the Windows Command Line shortcut, right-click, and Open as Administrator
-
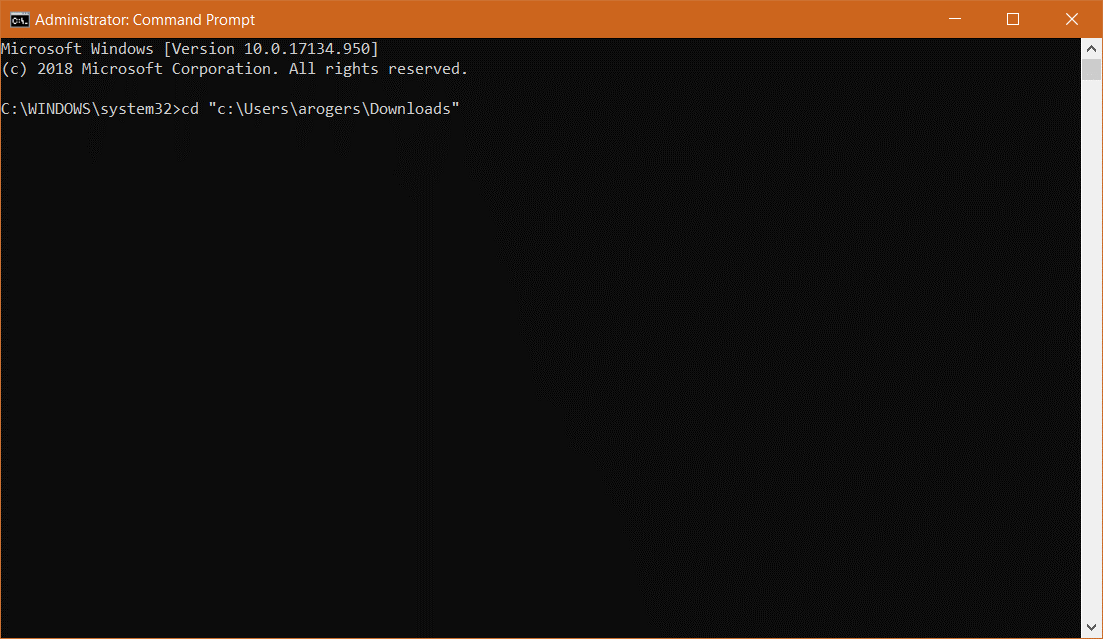
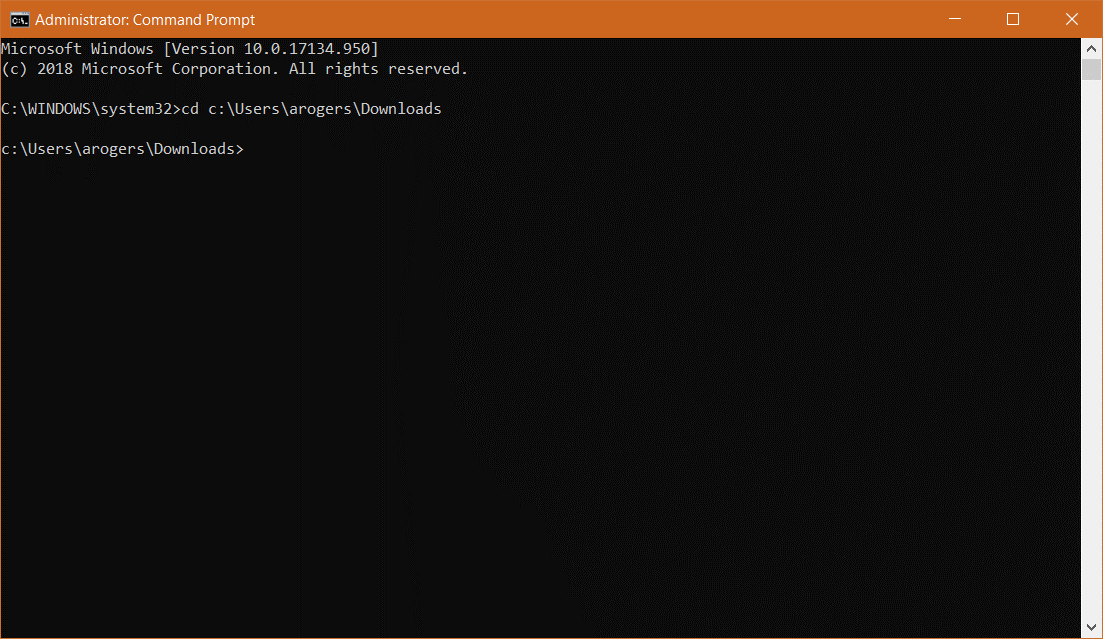
When the terminal opens Chage Directory (cd) into the following file path: (C:\Users\user\Downloads)
a.
b.
-
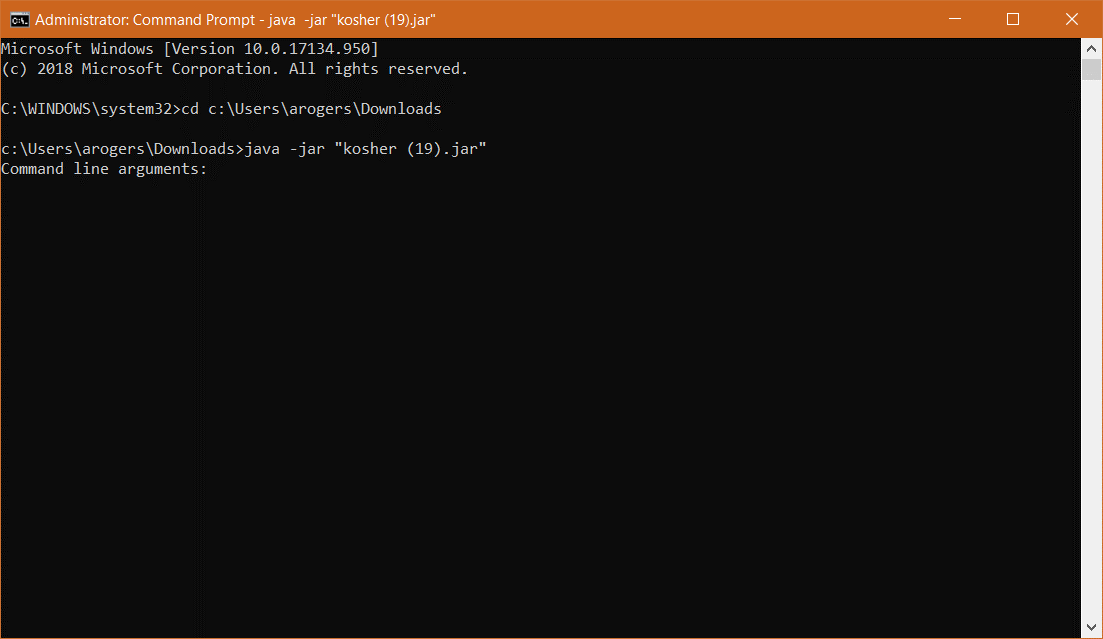
Execute the following command to begin the install: (java -jar “kosher(version#).jar)
-
The kosher installation wizard should appear. Follow its prompts to complete installation.
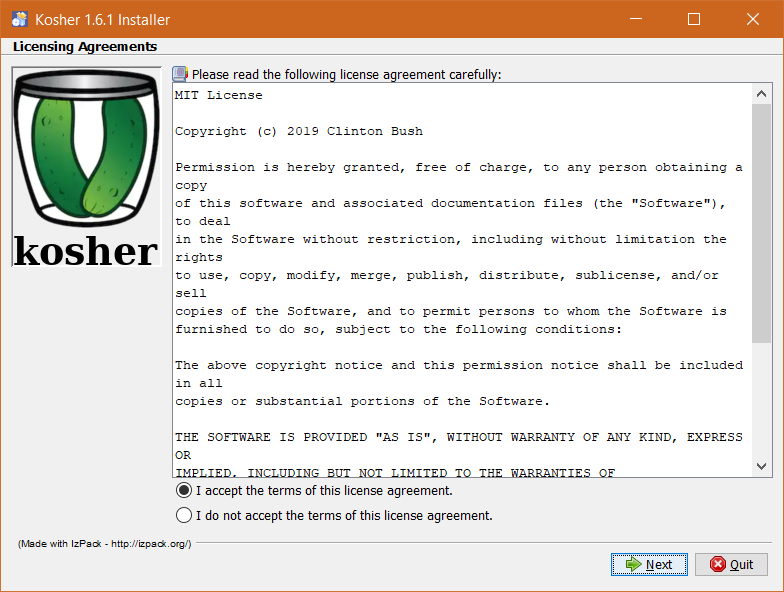
The installer will suggest several tools to aid in writing Gherkin scripts and running kosher tests. At a minimum, we recommend Chrome, Git (and Git Bash, if you’re using Windows), and Visual Studio Code.
- The installer should automatically add kosher to the PATH. To verify the installation, open a new terminal and key in the command below. Your output should look similar.
$ kosher version
1.0.0
Trying it Out
- Create a new directory to house your first kosher project. Using a bash terminal, enter:
$ mkdir kosher-project $ cd kosher-project - Initialize the project (create its basic structure, configuration files, and an example test script):
$ kosher init KosherProject Project [KosherProject] initialized... - Assuming you have Chrome installed, run the example test with the following command:
$ kosher run features/